Sauna Foundation: The Best Way to Fix It Easily (2026)
How a sauna foundation should be built is still one of the most misunderstood aspects in sauna understanding in North America.
Previously, the most common practice was to place your sauna directly on the ground. Even if you weren’t to use any water in your “dry sauna” (it’s no sauna to begin with if your sauna is not built for löyly), the floor would still rot eventually, as a wooden base is never supposed to touch the ground.
Luckily I’m seeing better advice given nowadays: cement pouring, piers and pads, concrete slabs or blocks, and/or a gravel base.
If you want an outdoor sauna but don’t care to dedicate much thought into its foundation, then your best bets are a sauna tent or a barrel sauna. While the first requires no foundation, the latter already includes the base that raises the sauna off the ground. This means less work on your part: gravel, a deck, or any solid base can be all the sauna foundation you need.
But what if you want a house-shaped sauna and don’t want to dump it directly on the ground (or already did but are hoping to fix it)? Then this article is for you.
I’ll go through how our own sauna foundation was originally built, and more importantly, show you how easy it is to fix it and level your sauna even after years of use.
An Example of a Correctly Built Sauna Foundation
Before reading on, it’s good to know that when getting your sauna installed, you may not have to do all that I did. Building a sauna foundation can be simple, and some options, such as concrete pouring, can be excessive in many cases.
I would go with the most solid (and expensive) options only if the property and the soil type you’re working with really call for it.
When building a foundation for your sauna properly (and/or professionally), the work begins by doing all the necessary groundwork and digging.
Ours involved building a French drain and making sure the ground is compact.
A French drain makes sure that groundwater won’t be an issue, preventing the soil from getting soggy, and that rain water or melting snow won’t pool around the sauna.
If water is used during saunaing, like it always is during real and traditional sauna bathing, then a properly built foundation also gets rid of that water in the blink of an eye. (Otherwise that water or even just plain löyly water have nowhere to go.)
As I like DIY projects and my dad and I assembled our sauna ourselves, I wouldn’t have hired a contractor to build a sauna foundation unless he had already been working on our property on something else. Since he was already on site, it made sense to have him do part of the groundwork for the sauna too.

The contractor did his part and left us a rough, visibly sloped blank canvas. The sloping is intentional, as the point of a French drain is to direct water away from the site and make it flow downhill. (There’s also a perforated pipe, geotextile fabric, and gravel in the trench underneath.)
Now the spot was finally ready for plenty of gravel and concrete blocks. Those are what the sauna manufacturer recommended, which perfectly aligns with Finnish sauna teachings in general.
The most solid foundation would be a concrete raft, as it spreads the building’s weight evenly and is the sturdiest option regardless of soil type. If going with this expensive option, make sure to use sufficient anchors and base plates to avoid the wood touching the concrete; the subfloor should have good ventilation.
I wanted an even airier solution since I knew we’d be building a slatted floor, also very recommended in Finnish sauna literature. It allows you to sauna bathe traditionally, using plenty of water, keeps the structures dry, brings excellent ventilation, makes lighting the sauna stove a breeze, thanks to good draft, and even aids in cleaning the floor.
When building a slatted floor, water flows outside freely and directly into the ground (that has a French drain built in), meaning a concrete slab underneath the floor would only interfere with this beautiful process.

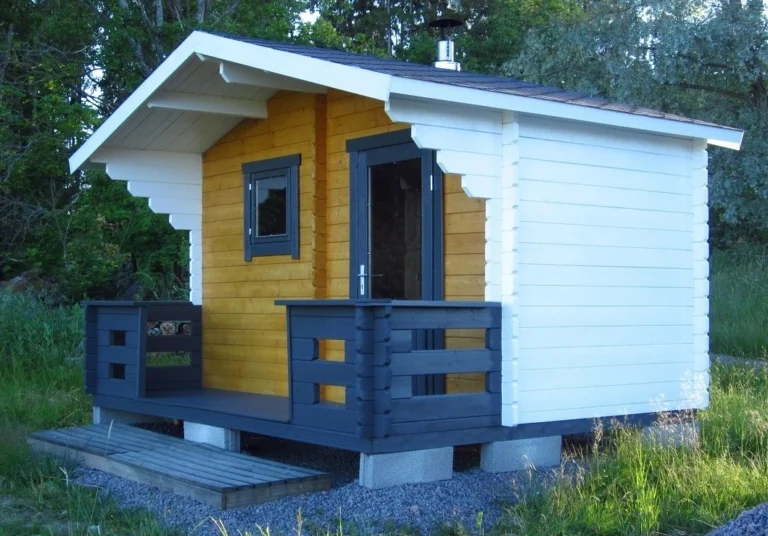
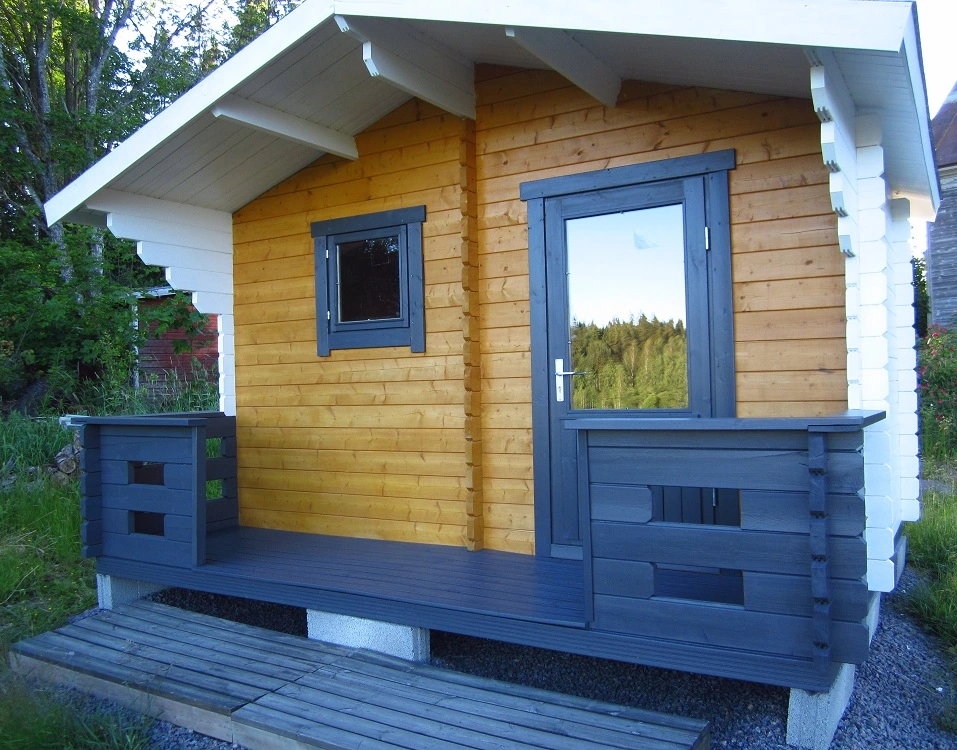
Above is the end result of all the work I have described. Finally the foundation was finished, and assembling the sauna could begin.
If you want to see the assembly step by step, or the slatted floor of the sauna room as part of the whole foundation, you can find it all here.
Years Later: Frost Heave, What It Can Do to Your Sauna Foundation & How to Fix It
Now we’re ready to jump several years forward and see how the foundation was doing recently, the sauna having been built in 2018.
(Don’t mind the chipping paint; I took this photo before the sauna was repainted and use it here as it’s one of few photos that actually captures what the foundation looked like to the human eye.)

The sides have sunk a little while the middle has remained untouched.
This is what frost heave (or ground frost) does, especially in the north: it freezes soil water and can damage building foundations.
When soil water freezes, it expands, essentially shifting the ground. Frost heave can move structures, make certain parts of the ground rise, and even bring rocks that were underground to the surface.
Luckily during all these years, we didn’t experience any actual frost damage even though it was known beforehand that our property is affected by frost heave. I’m sure we’re this blessed thanks to all the groundwork that was done properly.
I personally didn’t even mind the sunken sides that much, as their impact on sauna bathing was minimal. They did cause one problem, though: the door had to be adjusted during the winter season since it no longer aligned perfectly with the doorframe.
When my dad suggested we jack up the sauna and make it level again, I was intrigued. So that’s what we did!
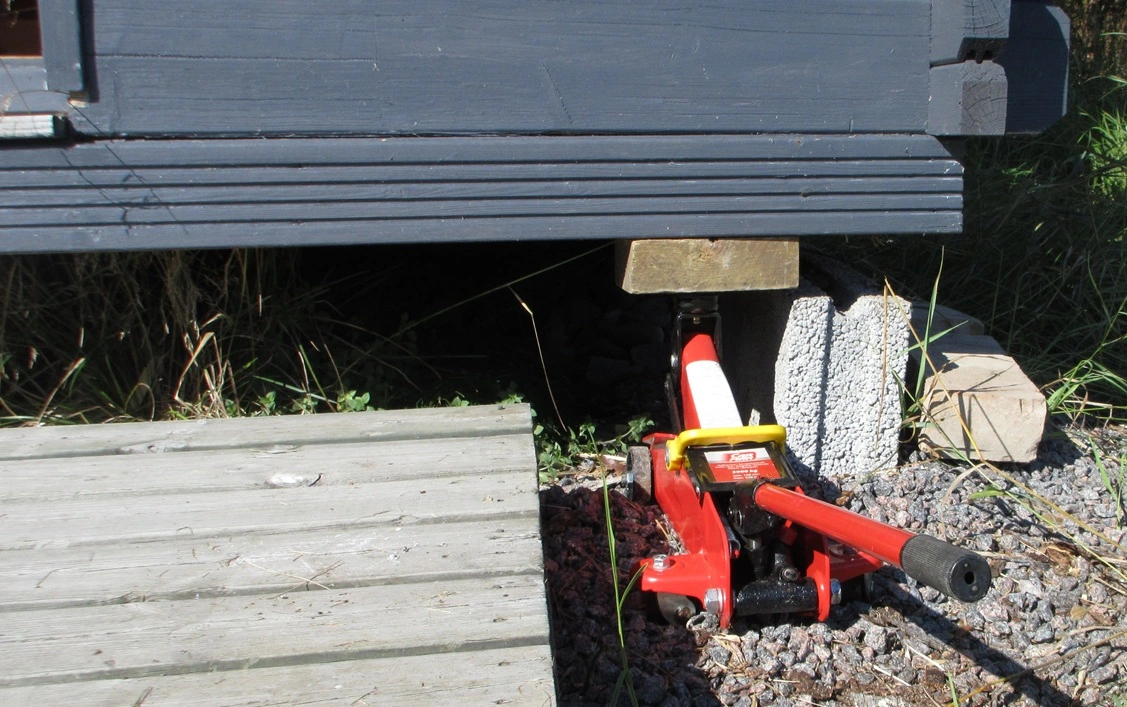
We used old bricks that we had lying around for leveling the sauna. They were excellent because they weren’t uniform in size, and we needed slightly different heights for different corners.
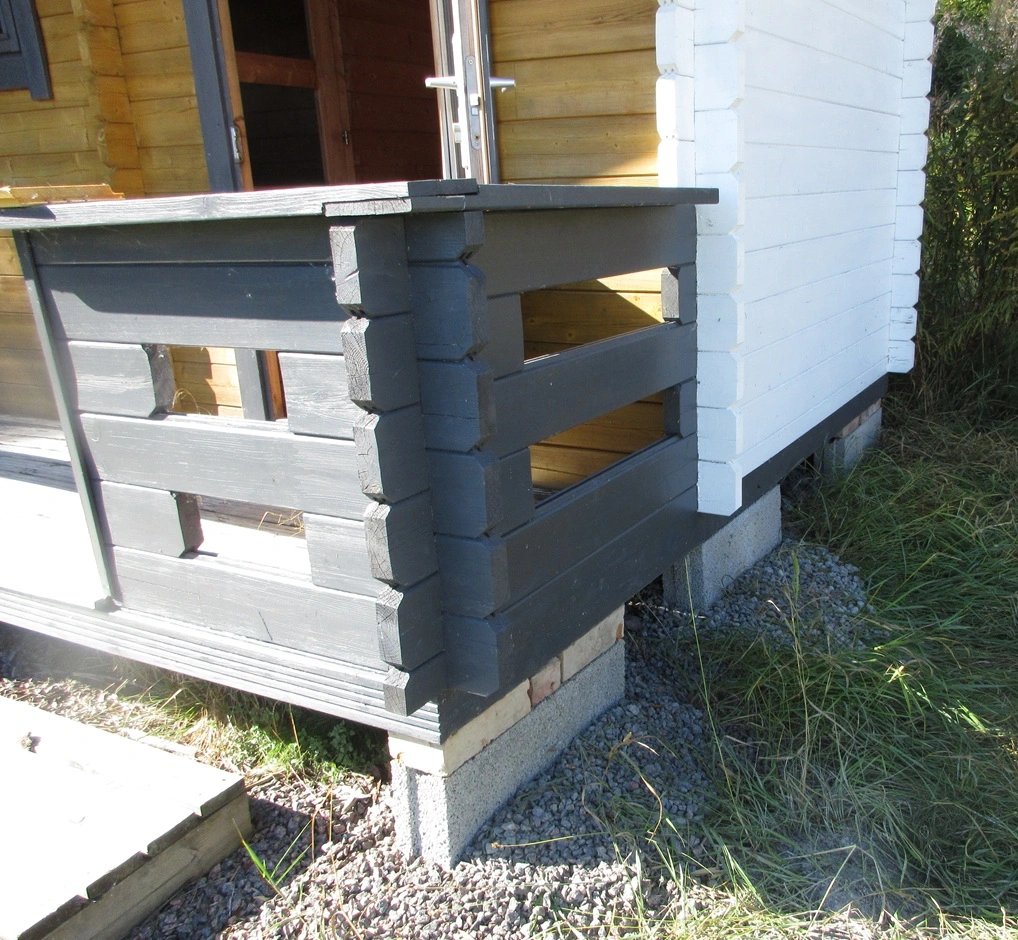
Some corners needed just a little more gravel and adjusting the concrete block:

My dad’s jack we used for this project has a lifting capacity of 4,400 lbs (2000 kg).
It’s incredible how easy and fast fixing the foundation was with this method, and the end result we got was perfectly level on all sides. Even the door got fixed automatically along with the leveling (makes sense), opening as smoothly as it did when the sauna was new!
Nothing was broken or twisted during the process, and no wonder either, since a jack enables very controlled and gradual lifting.

Final Thoughts
Since our sauna foundation had over seven years to sink, crack, or do whatever it pleased before we fixed it, but it still had remained quite nice, I believe it will stay in its fixed form for a really long time.
But even if it didn’t, due to heavy frost heave, it’s a relief to know it’s so easy to fix.
That wouldn’t be the case if the foundation hadn’t been correctly built, i.e., if the sauna floor had been touching the ground and sinking with it. Then you’d be forced to dig a hole under each corner so you could start lifting the sauna. (Obviously you’d have to fix the floor too since it’s unlikely it would be in good shape.)
This is what our sauna foundation looks like in January 2026:
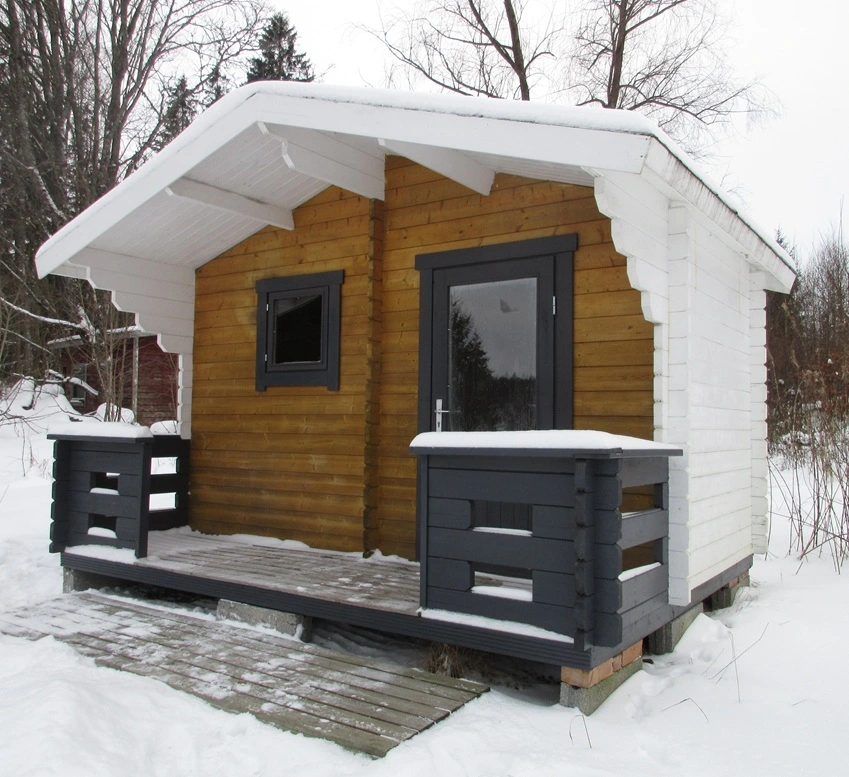
Very promising! Again, I’m not expecting it to move this time, as it had so many years to settle before we tweaked it.
But if the foundation becomes reckless again, I’ll let you know!